IICRC Continuing Education Credits for Storm Season: How to Prepare Before Calls Spike

Jul 2 / RestoreTech 360

Key Takeaways

  • Earning IICRC CE credits before storm season helps technicians make faster, safer, better-documented field decisions

  • Pre-season training reduces costly drying mistakes, safety incidents, and claim delays when call volume surges

  • A simple before-storm checklist aligns people, process, and training so crews can perform consistently under pressure

When the phones start ringing nonstop, training is either done or it is too late

The first major storm week is when you find out what your team really knows. New hires are riding along, the days run 12 to 16 hours, and every call forces split‑second choices on containment, demo, and drying that you cannot rewind later.

Many restoration firms see 2x to 5x normal job volume after severe weather. When that surge hits, training time disappears, and small gaps turn into big rework, safety risk, and slow approvals.

So the goal is simple: treat IICRC Continuing Education (CE) as a pre-season risk plan, not a slow-season task. By the end of this guide, you will be able to map the right IICRC CE training to storm-season risks and use a practical pre-season checklist so your team is ready before the spike, not trying to catch up during it.

Better drying decisions when conditions and timelines get messy

Next, when a loss is spreading and the rebuild clock is already ticking, the fastest way to get in trouble is to dry on autopilot. A simple benchmark that keeps teams aligned is this: every drying plan should name a drying goal, show how you will measure it daily, and include a change trigger if readings stall for 24 hours.

Start by refreshing the basics that get challenged under pressure: psychrometrics (how temperature, humidity, and air movement interact), equipment selection, and monitoring. If you do one thing, write a one-page plan on day 1 that answers:

  • What materials are being dried (drywall, framing, concrete, insulation)

  • What equipment is on site (air movers, dehumidifiers, heat) and why it matches the situation

  • What “done” looks like (target moisture content or dry standard for each material)

  • When you will reassess (same time each day, plus after power loss or weather changes)

Here’s the catch: many re-wets and failed dry standards come from weak job categorization and sloppy boundaries, not from bad machines. “Job categorization” means calling the job what it is so the plan fits, such as clean water vs contaminated water, or a short-duration leak vs a long-duration soak. Set demo boundaries early by deciding what must come out now versus what can be dried in place, because leaving wet insulation behind a wall often looks fine on day 2 and fails on day 6.

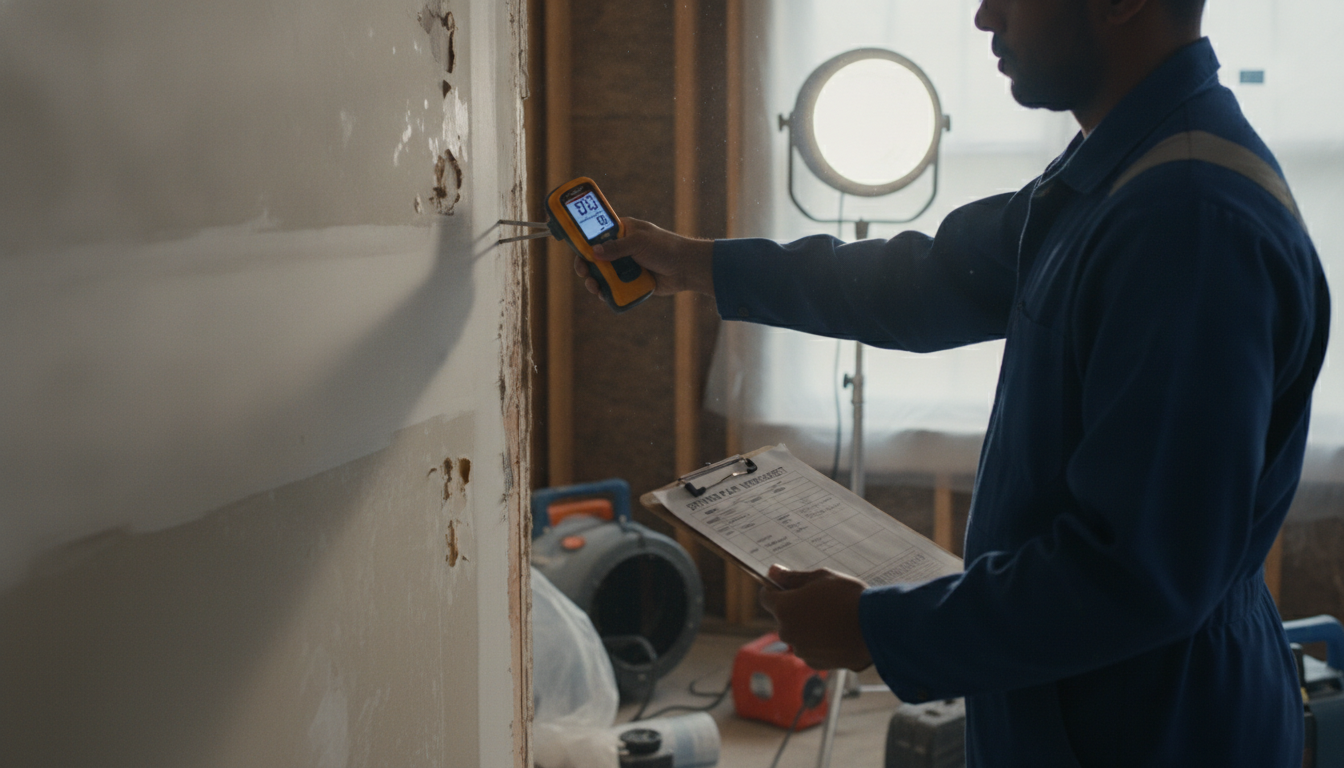
In practice, moisture mapping is how techs defend decisions when a PM, homeowner, or adjuster is pushing for speed. Build a quick map that includes:

  • 6 to 12 readings per room on day 1 (more for large rooms or mixed materials)

  • A dry reference point from an unaffected area of the same material type

  • Marked “hot spots” near baseboards, window bays, and behind cabinets

  • The same meter mode and settings each day so numbers stay comparable

Common mistake: switching meters or modes mid-job and then arguing about why the readings “do not match.” Fix it by assigning one primary meter per crew, documenting the model, and using the same scale and mode for the same material. Works best when one person owns the daily reading route; fails when readings are taken randomly between tear-out, content moves, and equipment checks.

That said, continuing education only helps when it turns into on-site habits. Connect CE refreshers to a short daily routine (10 to 15 minutes per loss) that includes:

  • Date-stamped daily logs (equipment count, temp, RH, grains if you track them)

  • Target materials list (what you are drying and the dry goal for each)

  • Consistent meter use (same locations, same sequence, same documentation photos)

If you’re short on time, skip rewriting the full plan and do two things instead: update the moisture map and note one clear reason you are keeping, moving, or removing each piece of equipment. That single note often prevents a rushed change that causes a re-wet, a call-back, or a disputed “dry” claim.
Safer crews when hazards multiply in storm losses

Next, safety has to get more structured because storm work stacks hazards on top of each other and decisions get rushed. A tech can go from extracting water to opening walls in the same hour, and the risk picture changes fast when power, structure, and contamination are all in play.

If you do one thing, rehearse hazard recognition the same way you rehearse equipment setup. Run a 10-minute pre-job scan that covers:

  • Electrical risks: downed service drops, energized puddles, wet panels, backfeed from generators

  • Structural instability: sagging ceilings, soaked insulation weight, shifted framing, compromised stairs

  • Contaminated water: sewage backups, river floodwater, unknown source water and splash zones

  • Confined spaces: crawlspaces with low clearance, limited exits, poor air movement, hidden sharp debris

Also, tighten PPE and containment choices so teams do not improvise when time is short. PPE (personal protective equipment) should match the hazard, not the schedule, and the decision should be clear before the first cut or demo.

Common mistake: choosing lighter PPE to move faster, then upgrading mid-task after exposure has already happened. Fix it by using a quick “minimum PPE for this zone” call during the pre-job scan, and keep a resupply plan on the vehicle so a lead is not forced to choose between delays and protection.

Tradeoff: lightweight gear works best for clean-water, open-air drying where heat stress is the main issue, but it fails when water source is uncertain or aerosols are likely. If you are short on time, skip arguing about edge cases and treat unknown water as contaminated until you can verify the source.

That said, stop-work triggers only work if everyone knows exactly when to pause and who to call. Clarify a short list that both techs and leads can act on without permission.

  • Stop work immediately if you see sparking, active arcing, or water near energized equipment

  • Stop work if floors feel soft, ceilings bow, or you hear shifting or cracking during demo

  • Stop work if odors, visible sewage, or staining suggests contamination beyond the planned scope

  • Stop work if a crawlspace or room has limited exit and air feels heavy or visibility drops

Escalation path example: tech pauses work and secures the area, then calls the job lead within 5 minutes; the lead decides whether to bring in an electrician, structural help, or adjust the containment plan before work resumes. This helps keep new hires from pushing through, and it keeps experienced techs from making solo calls under pressure.

Documentation that protects cash flow when adjusters are flooded too

Also, when every adjuster has a backlog, your job file has to tell the story fast. The goal is not more paperwork, it is clear proof that supports scope, time, and billing so approvals do not stall for weeks.

If you do one thing, standardize what gets captured on every loss so nothing important is missed on long days. A repeatable minimum set also makes it easier for a PM to review 10 files in 20 minutes and spot gaps before an invoice goes out.

Standardize your evidence package (use the same order every time):

  • Photo set: arrival, affected rooms, close-ups of damage, pre-existing notes, containments, equipment placed, equipment removed, final condition

  • Moisture documentation: instrument used, settings, reference points, materials tested, initial map, daily map, drying goals, final “dry standard met” note

  • Scope support: room dimensions, material types, removal cut lines, category/class notes when relevant, contents handling, disposal tickets if used

  • Why behind actions: brief cause/effect note like “negative pressure set due to visible microbial growth in wall cavity” or “removal extended 24 inches to reach clean, dry material”

That said, the most common reason for supplements and denials is a mismatch between what you billed and what your notes explain. Fix it by writing one plain-English sentence each day that links readings to next steps, so a reviewer can follow the logic without calling you.

A fast daily cadence that holds up under review (5 minutes per visit):

  • Date/time on site and who visited

  • Room-by-room readings (at least affected materials plus one dry reference)

  • Equipment count and changes (add, move, remove) with a short reason

  • Progress statement (what improved since yesterday)

  • Plan for next 24 hours (what you will do and what “done” looks like)

If you’re short on time during a surge, skip long narratives and focus on the three items that prevent payment delays: consistent photos, consistent readings, and equipment counts that match the invoice. This works best when your team uses the same template on every job, but it fails when techs freehand notes differently per file, because reviewers cannot compare day to day.

Customer communication that reduces complaints and increases approvals

Also, when a neighborhood is flooded and everyone wants answers at once, the fastest way to lose trust is to sound different on every call. Train a simple, repeatable explanation of the job that any technician can say in 20 to 30 seconds. Focus on three points: the drying goal, the likely timeline range, and what “normal” looks like during a storm surge (extra noise, extra fans, and more return trips).

Use plain language for the basics and define terms once. For example, “Drying goal” means the moisture level you are trying to reach before materials can be rebuilt, and “timeline” means the range based on access, power, and how wet the structure is. If you do one thing, standardize the first-day explanation and have every crew member follow it word for word.

Next, practice short scripts for tough moments so the team does not improvise under pressure. Common mistake: promising a firm completion date on day one, then backtracking when power is out or a second affected area is found. Fix it by giving a range and a clear next update time.

  • Limited availability: “We are scheduling in storm priority order. I can give you a 2 to 4 hour arrival window, and we will text when the crew is on the way”

  • Access issues: “We can start as soon as we can safely access the affected rooms. If keys, parking, or gate access change, call us so we do not lose your spot”

  • Change orders: “If we find additional wet materials after the first day, we will document it, explain options, and get written approval before we proceed”

That said, most complaints come from surprises, not from the actual drying equipment. Set expectations early on noise (fans running 24/7), power usage (higher electric draw), humidity (the air may feel warmer or more humid at first), and return visits (a technician may need to check readings every 24 to 48 hours). Works best when you say this before equipment is placed; fails when you wait until a customer is already frustrated on day two.

If you’re short on time, keep a one-page “what to expect” checklist on every truck and review it in under 2 minutes at the door. Ask the customer to repeat back the next step and the next contact time, then note it in your job file so office staff and field crews stay consistent.

Before storm season checklist for restoration companies

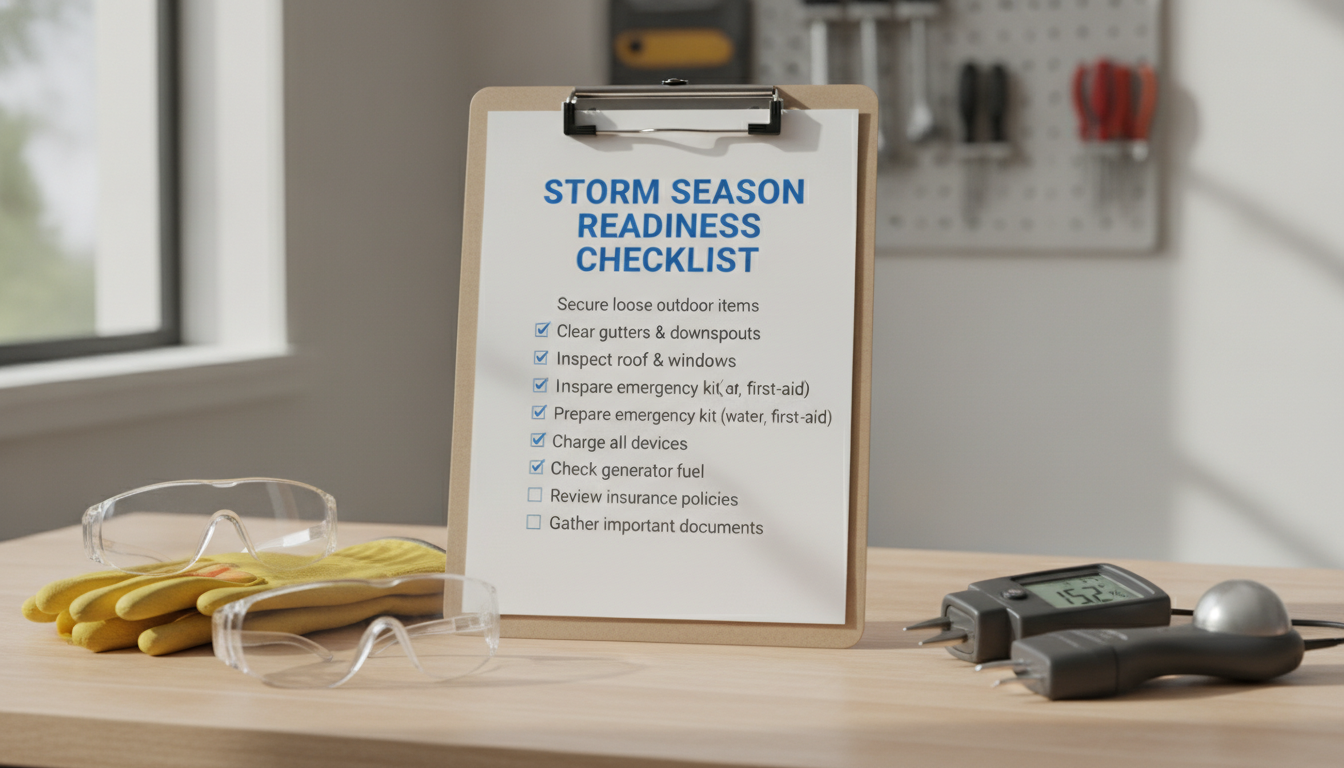
Also, the fastest way to avoid chaos in the first 72 hours is to treat storm prep like a short project with owners, due dates, and a single checklist.

Aim to have this finished 2 to 4 weeks before your first likely forecast window so you are not scrambling while dispatch is already overloaded.

Training readiness

  • Confirm each technician’s IICRC CE requirements and current credit count

  • Enroll techs now and set completion dates (for example, 10 business days before the first forecast)

  • Reserve 2 to 3 short blocks per week for training (60 to 90 minutes) instead of betting on a full day

Common mistake and fix: waiting until the first spike, then trying to train between jobs. Fix it by assigning one person to track enrollments and completions every Friday.

Field readiness

  • Calibrate and function-check moisture meters, thermo-hygrometers, and manometers before the rush

  • Verify PPE stock by size and task (gloves, eye protection, respirators, Tyvek) and set a reorder point

  • Label key gear (meters, air scrubbers, dehus) with a simple ID and check-out process

  • Refresh job file templates so every crew starts with the same photo list, readings log, and customer forms

If you do one thing: calibrate and verify your measuring tools, since bad readings lead to bad drying calls even when the crew works hard.

Process readiness

  • Define escalation rules (for example, when to call a supervisor for category changes, asbestos concerns, or structural safety)

  • Set documentation minimums per job type (photos, readings, equipment logs, signatures) so adjusters get consistent files

  • Write a daily customer update standard that crews can follow in 5 minutes (what changed, what is running, what happens next)

Tradeoff: stricter minimums reduce rework and supplement delays, but they can slow day-one production if they are too long. Keep the minimums short and add optional items for complex losses.

Team readiness

  • Run a 20-minute “storm playbook” huddle with one page: priorities, safety rules, and who decides what

  • Assign roles in advance for intake, scheduling, and QA so calls do not compete with field work

  • Decide your daily cadence (for example, a 10-minute morning sync plus a 15-minute end-of-day handoff)

Constraint: if you are short on time, skip rewriting everything and just set roles plus documentation minimums. Those two changes prevent most avoidable callbacks and payment delays.

Suggested IICRC CEC courses to complete before storm season

Next, pick CE topics based on what slows your team down in the first 72 hours after a storm: unclear drying plans, safety calls made in a hurry, and paperwork that lags behind production. A simple target is one focused CE course per technician role per quarter, or one course for the whole crew if you only have a 4 to 8 hour training window.

If you only do one thing, start with IICRC CEC water damage training. It shows up on almost every storm job, and it directly affects cycle time, equipment use, and whether your file makes sense when the adjuster reviews it later.

Use this list to pick courses that match the most common storm-season scenarios:

  • Water damage training (drying strategy, monitoring, documentation fundamentals)

    • Works best when your team is making daily changes to equipment and airflow based on readings

    • Common mistake: treating every room the same; fix it by setting a simple daily routine for moisture mapping and psychrometric checks (temperature, relative humidity, and grain depression)

  • Fire and smoke cec training (safety, residues, decision-making after electrical events)

    • Useful when a storm leads to power surges, panel damage, generator issues, or small electrical fires in wet structures

    • Tradeoff: aggressive cleaning can help fast, but it fails when you miss corrosion risk or contaminated residues; set a rule that any “burnt odor plus wet building” triggers a safety and scope review before production ramps up

  • Mold training (containment choices, judgment when wet materials sit too long)

    • Best when drying timelines slip past 48 to 72 hours because access is blocked, power is out, or the customer cannot decide

    • Constraint: if you are short on time, focus on “when to contain” and “what to remove” decisions so your crews do not improvise barriers that do not hold

  • Odor cec training (communication and remediation planning for lingering contents and structures)

    • Helps when contents sit wet in a closed house, sewage is involved, or damp framing keeps a musty smell even after readings improve

    • Common mistake: promising the smell will be gone after drying; fix it by labeling odor work as a separate plan with clear checkpoints (source removal, cleaning, and verification steps)

To prioritize as an owner or manager, map each course to one measurable result you want during storm season, such as fewer drying-day extensions, fewer safety incidents, or fewer supplement requests. For example, a lead tech might take water and documentation-focused CE first, while a contents lead might take odor work earlier to handle packed-out items and customer expectations.

Closing remarks

So when the storm hits, you usually do not get a second chance to “tighten up the process” later. The storm doesn’t create your process; it reveals it in the first 20 minutes on site, in the first moisture map, and in the first update to a homeowner who is watching every move.

If you could pick one decision for every technician to make correctly when you cannot be everywhere at once, make it this: choose the next action based on measured conditions, then document it clearly. That means they can explain why they set equipment, why they changed a drying goal, or why they escalated a safety concern using photos, readings, and a short note, not guesswork.

If you do one thing before calls spike, align the team on a simple rule they can follow under pressure:

  • Measure before changing the plan

  • Escalate hazards immediately, even if it slows production

  • Write the “why” in the file the same day, while details are fresh

  • Communicate the next 24 hours to the customer before you leave the site

That is how you keep drying decisions consistent, crews safer, and files defensible, even when supervisors are bouncing between losses and adjusters are backed up.

Get your CE hours done before calls spike again